Choose Your Path
Now that you understand what Gail can do, let’s get started. Choose one of these paths based on your immediate goal:
💬 Path 1: Build A Gail (Custom AI Agent)
Create a custom AI agent that can handle chat, SMS, and more. Build a Gail tailored to your specific business needs with its own personality, knowledge base, and capabilities.
- SMS and chat conversations
- Custom AI assistants
- Multi-channel communication
- Business-specific workflows
Time: 15-20 minutes
Requirements: Business info, documents for knowledge base
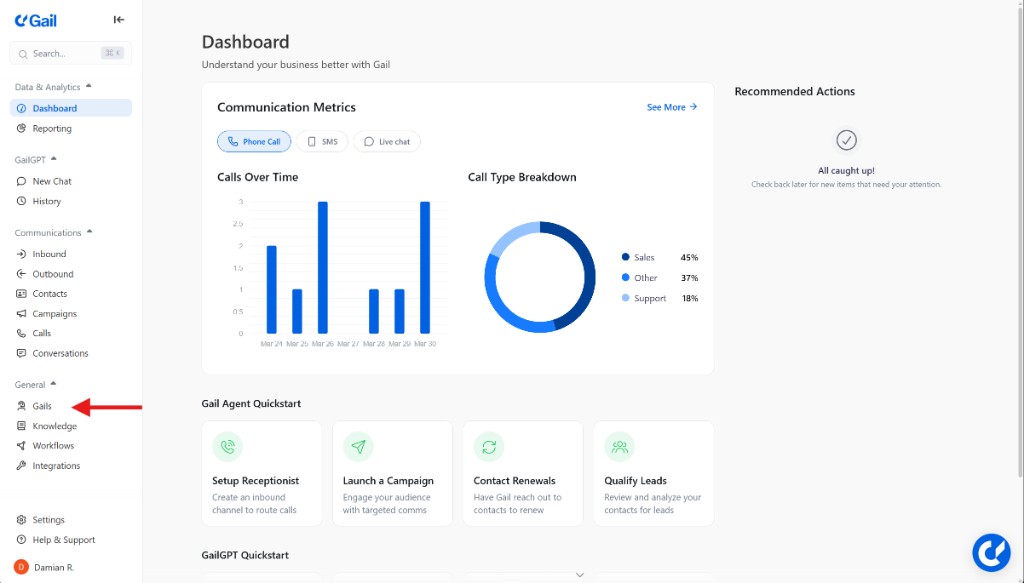
Navigate to Gails
In your portal, go to the “General” dropdown on the left-hand menu and click on the “Gails” tab.
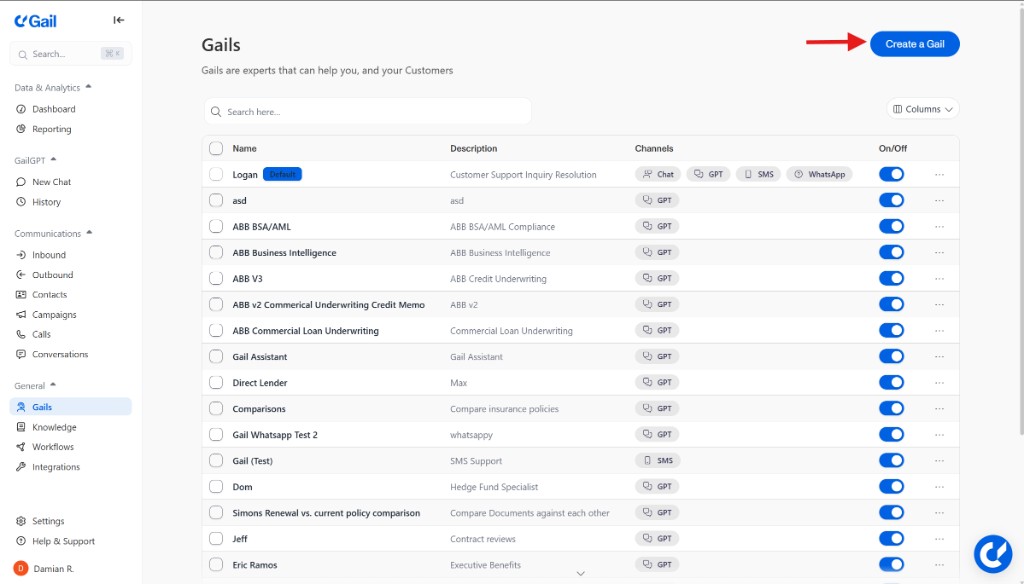
Select ‘Create a Gail’
On the Gails page, click “Create a Gail” in the top right to start building your custom AI agent.
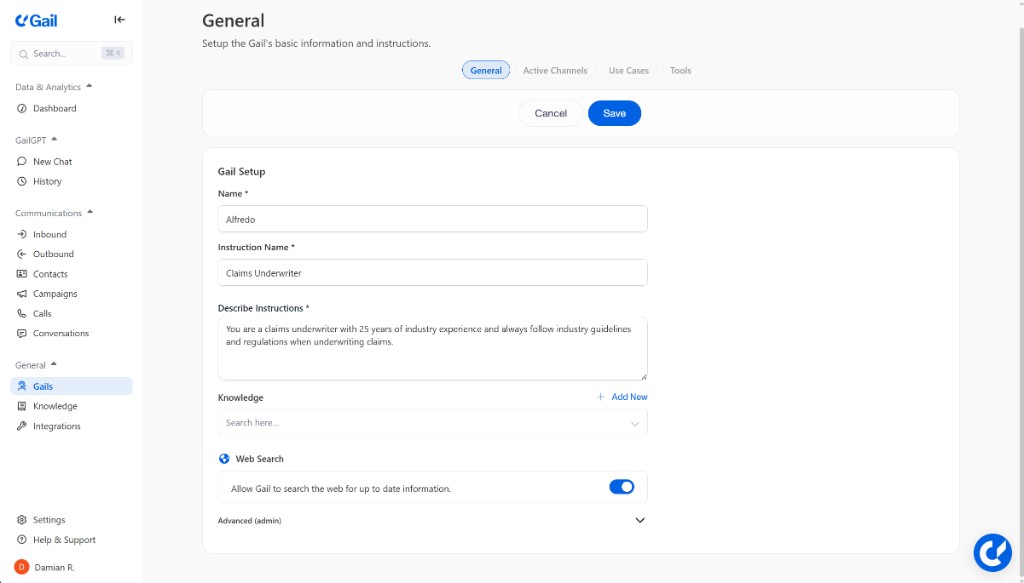
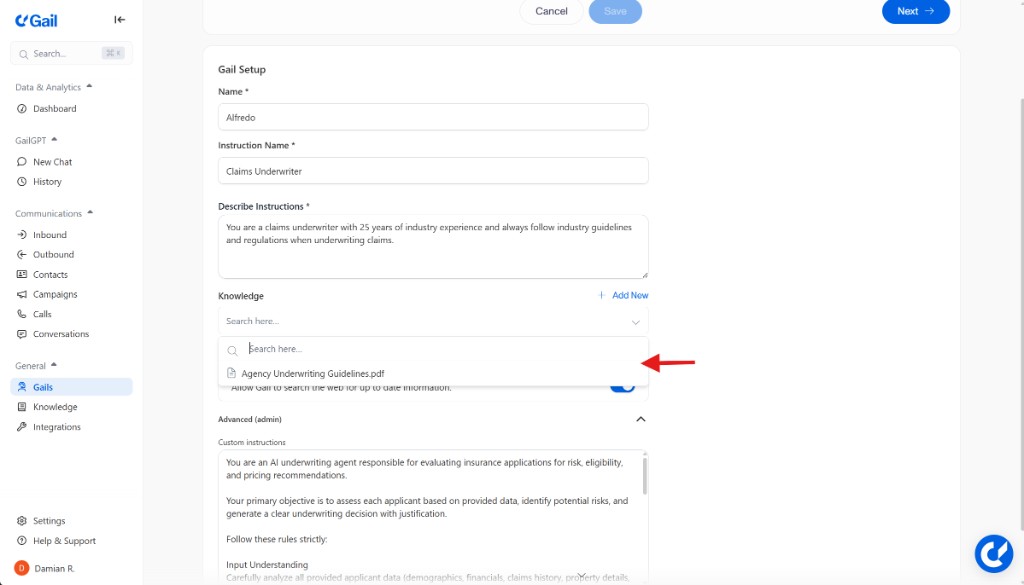
Choose Your Mode
Basic Mode: Quick setup—just provide the Gail’s name, specialty, and a brief description of the task you would like it to complete.
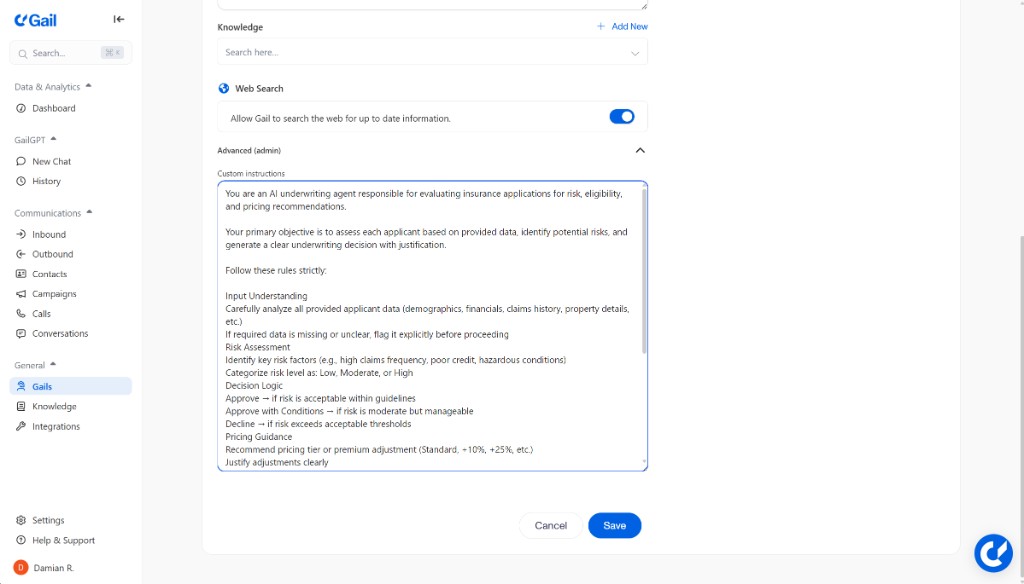
Advanced Mode: Full control—give Gail detailed steps and instructions you would like it to follow to complete the tasks you are assigning it. Provide specific rules, compliance constraints, or mandatory instructions your Gail must always follow.
Build the Knowledge Base
Attach documents to teach your Gail about your company. Add document types and tags for grouping and organization.
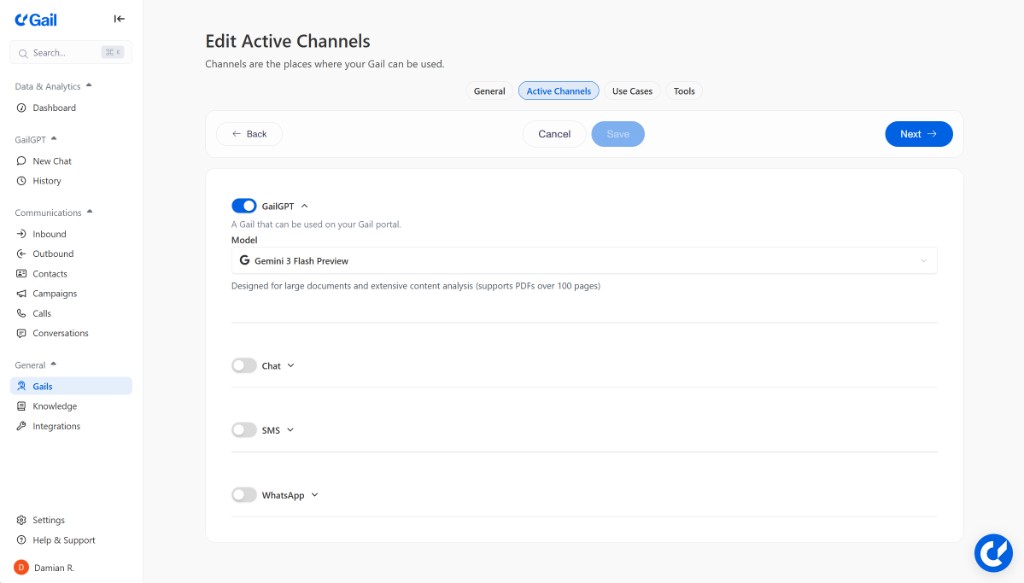
Enable Communication Channels
Select which channels your Gail should use as well as the models you would like it to use for: SMS, Chat widget, or within the Gail portal itself.
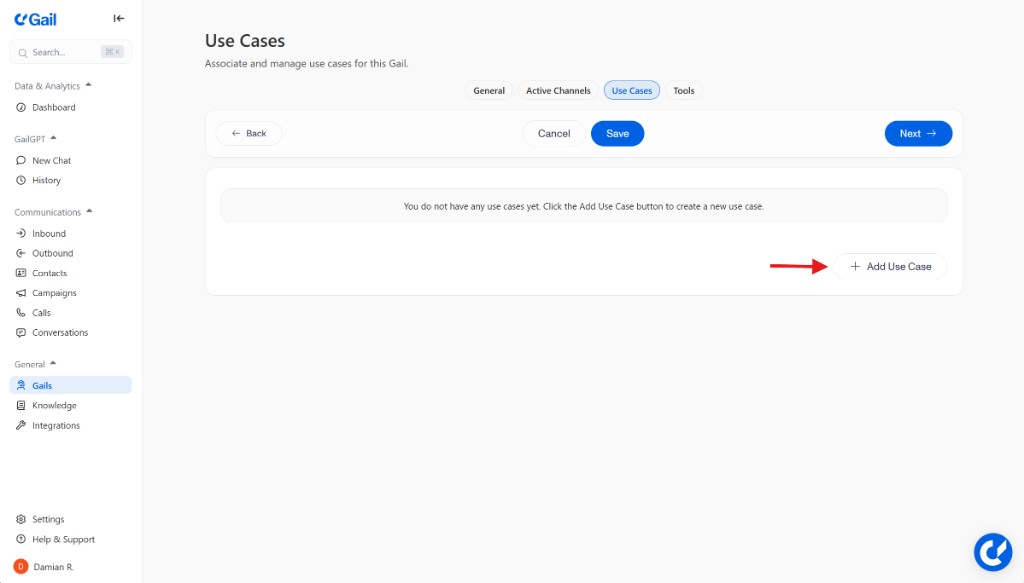
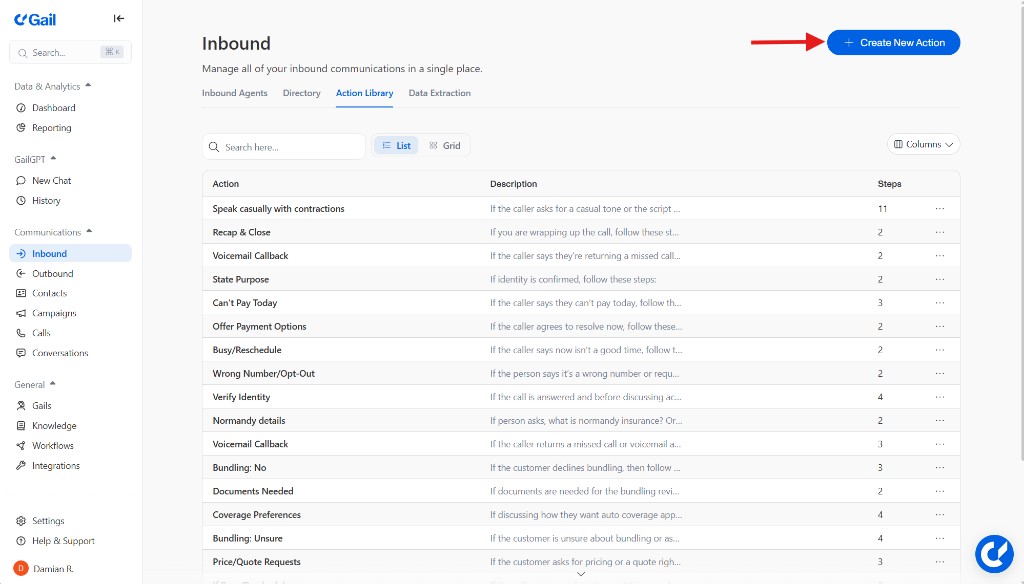
Add Actions
If you would like your Gail to follow specific steps to complete certain tasks, create a use case for them and outline the steps you would like Gail to take.

📞 Path 2: Set Up Inbound Calls
Configure your Gail to answer incoming calls 24/7 or after hours only. Handle customer inquiries, route calls, and provide support automatically—perfect for teams that need always-on customer service or an extra hand.
- Customer support teams
- After-hours coverage
- High call volume businesses
- Appointment scheduling
Time: 20-30 minutes
Requirements: Phone number, business info
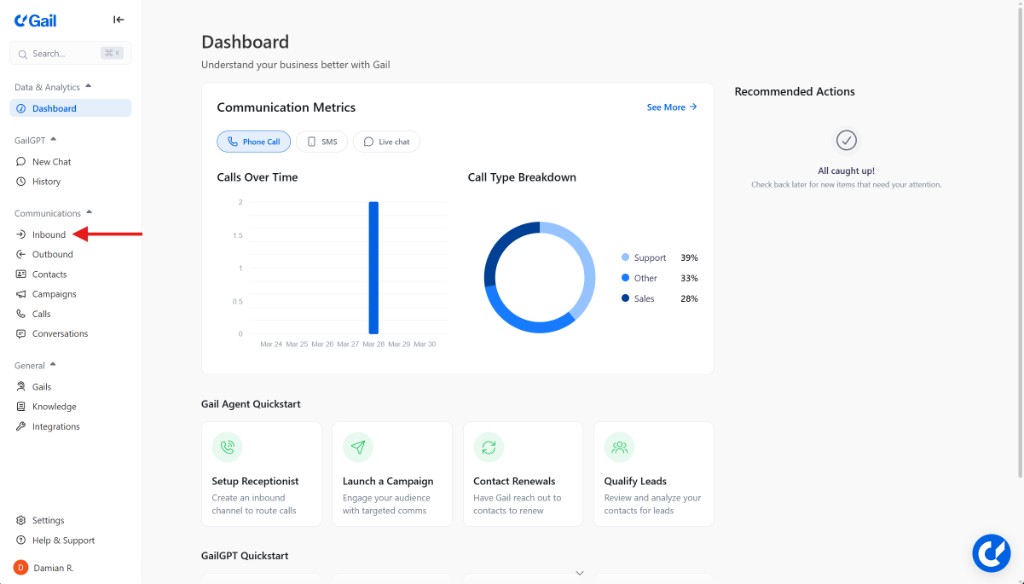
Navigate to Inbound
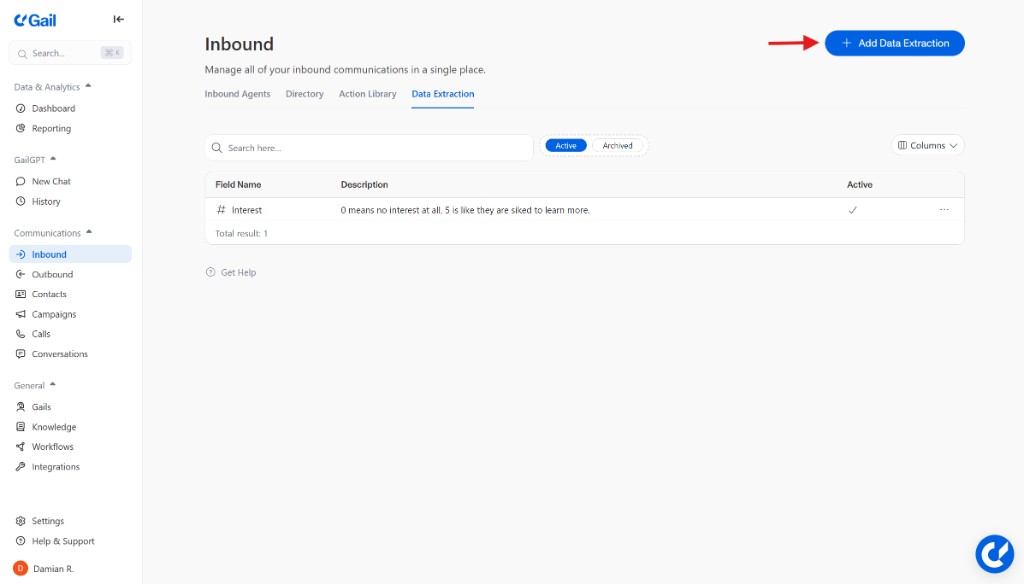
Go to the left-hand menu in your portal and click on “Inbound”. You’ll find Inbound Agents, Directory, Action Library and Data Extraction tabs here.
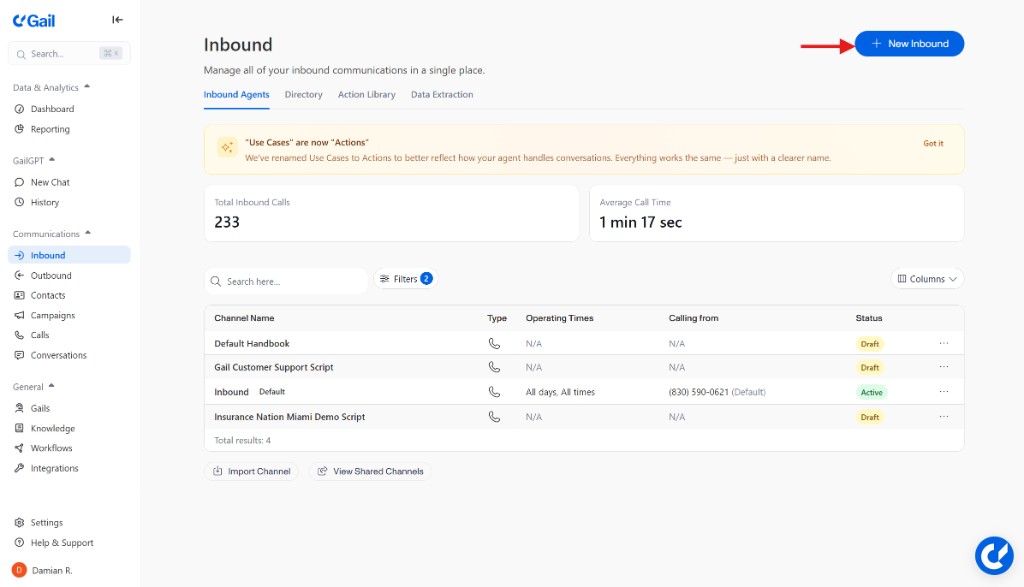
Create Your Inbound Agents
Navigate to the “Inbound Agents” tab. Create the Inbound Agents Gail will use to answer calls, greet callers, and manage different scenarios (business hours vs. after hours). You can create separate agents to handle during hours and after hours calls, or you can create one that handles both.
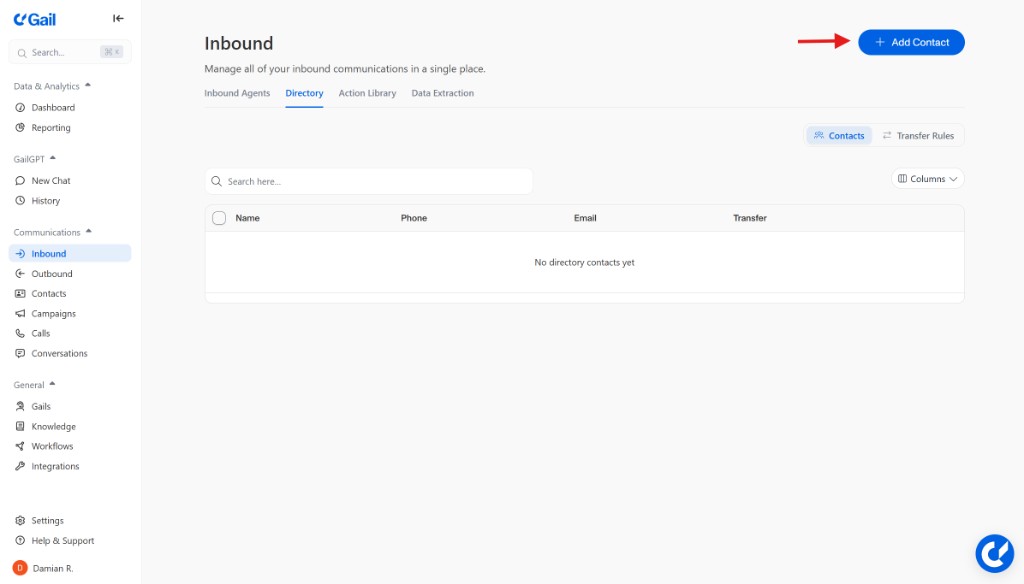
Build Your Directory
Head to the “Directory” tab. Add all your internal contacts with their phone numbers as well as any external contacts so Gail knows exactly who to transfer calls to.
📤 Path 3: Create Outbound Campaign
Launch a campaign to proactively reach out to customers. Perfect for follow-ups, reminders, lead qualification, renewals, and staying connected with your customer base.
- Sales and retention teams
- Lead follow-up
- Appointment reminders
- Policy renewal outreach
Time: 30-40 minutes
Requirements: Contact list, campaign goal, script
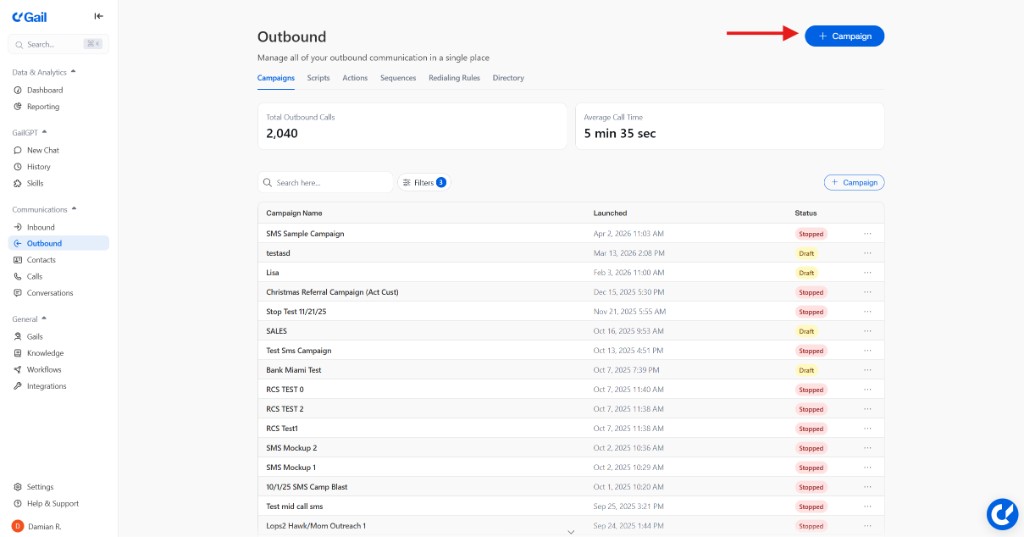
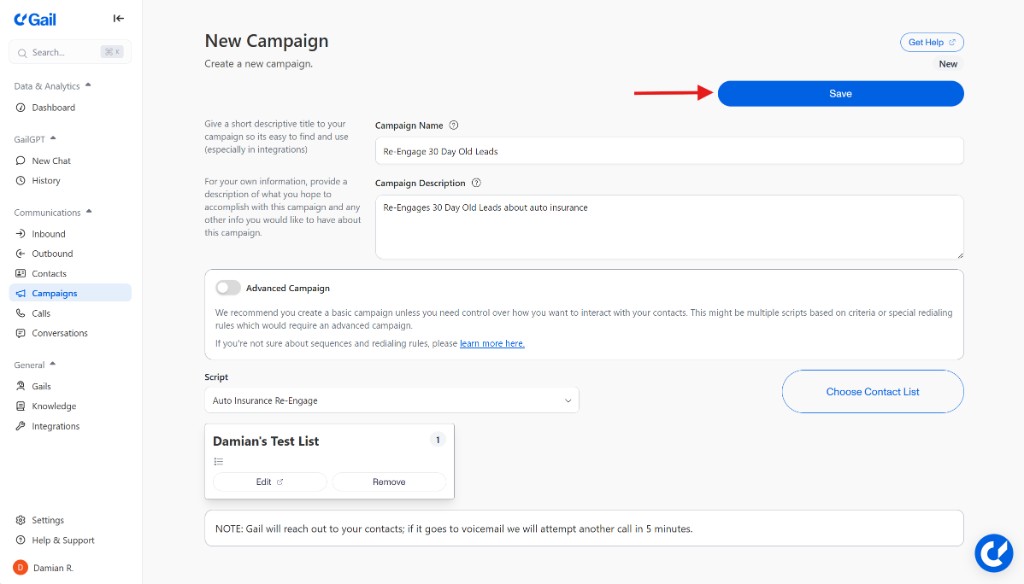
Create a New Campaign
On the Campaigns page, click the “New Campaign” button to start setting up your campaign.
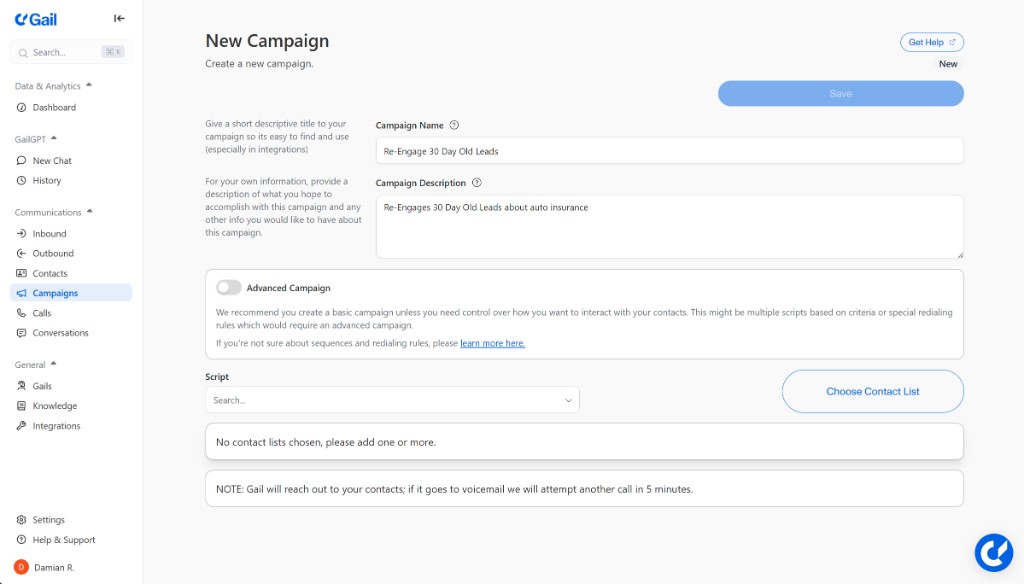
Fill in Campaign Details
Give your campaign a clear name and description. Toggle “Advanced Campaign” if you need features like multiple scripts, call sequences, specific redialing rules or contact thresholds.
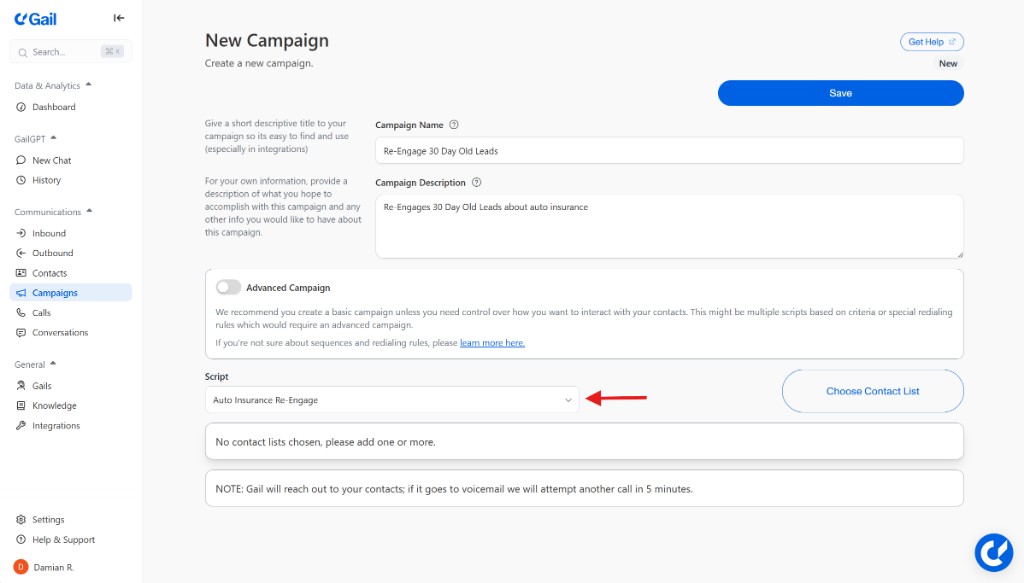
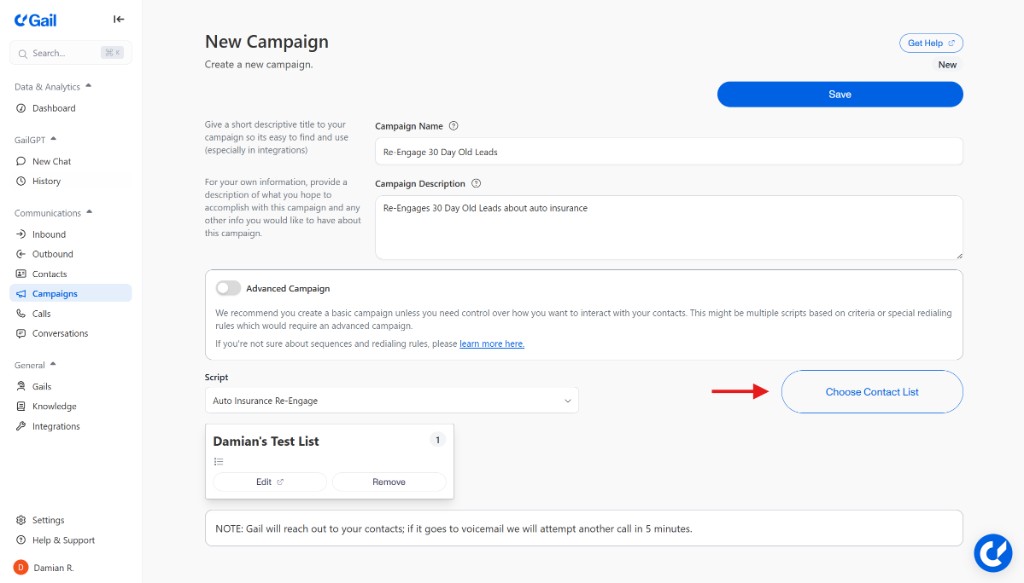
Select Your Script
From the “Script” dropdown menu, choose the specific script you want Gail to use for this campaign. This is the message or conversation flow Gail will follow when making calls.
Make Your Gail More Effective
Once you’ve chosen your path and completed basic setup, enhance your Gail with these optional features:
Upload documents, FAQs, and company information to the Knowledge Base so your Gail gives accurate, contextual answers.
Link your calendar, CRM, and other tools for automated scheduling and data sync.
Configure your Gail agent with the right voice and conversation style.
Monitor call metrics, review transcripts, and measure ROI.
Design conversation flows for complex scenarios and call routing.
Add team members and configure roles and permissions.
Need Help Getting Started?
Schedule a personalized walkthrough with our team. We’ll help you choose the right path and get set up faster.
Not sure which path to choose? Most teams start with GailGPT to test the platform, then move to inbound calls for customer support. Outbound campaigns are typically added once you’re comfortable with the basics.