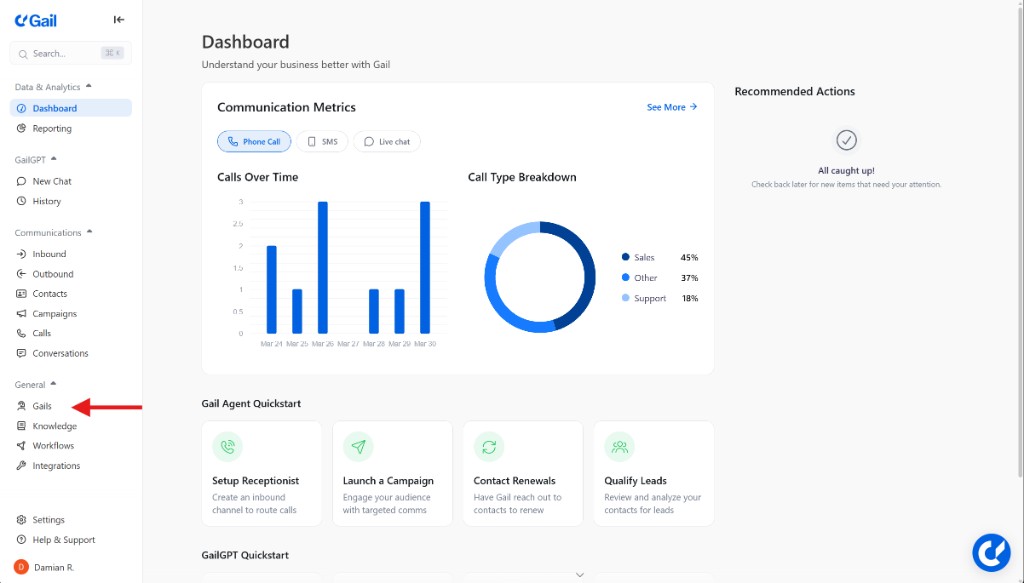
Create Your First Gail
Building from Scratch
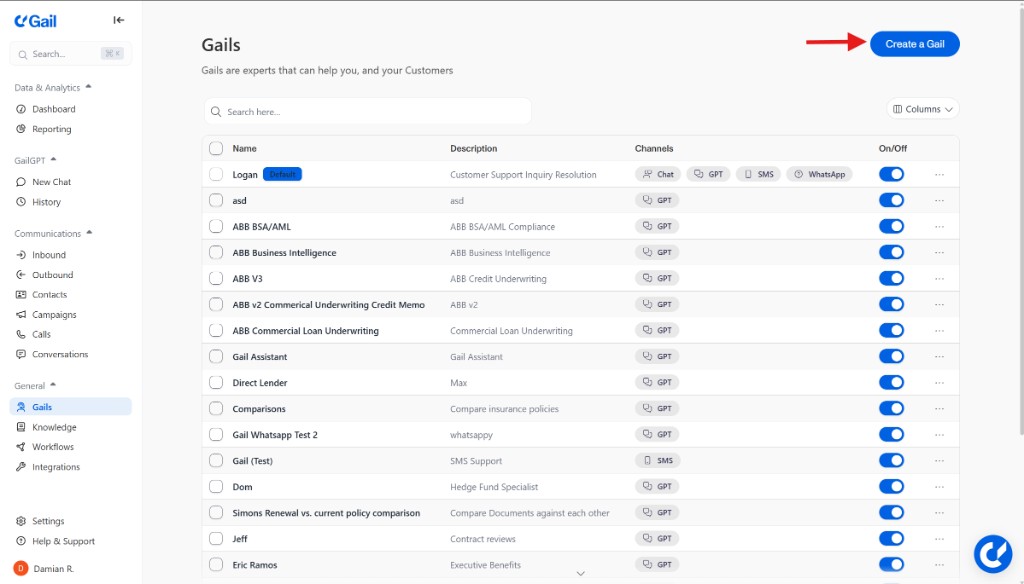
To create a Gail:
- Go to Gails in the dashboard
- Click Create New Gail (or Create Agent)
1. Define Your Gail’s Purpose
Start by clearly defining what your Gail (agent) should do:
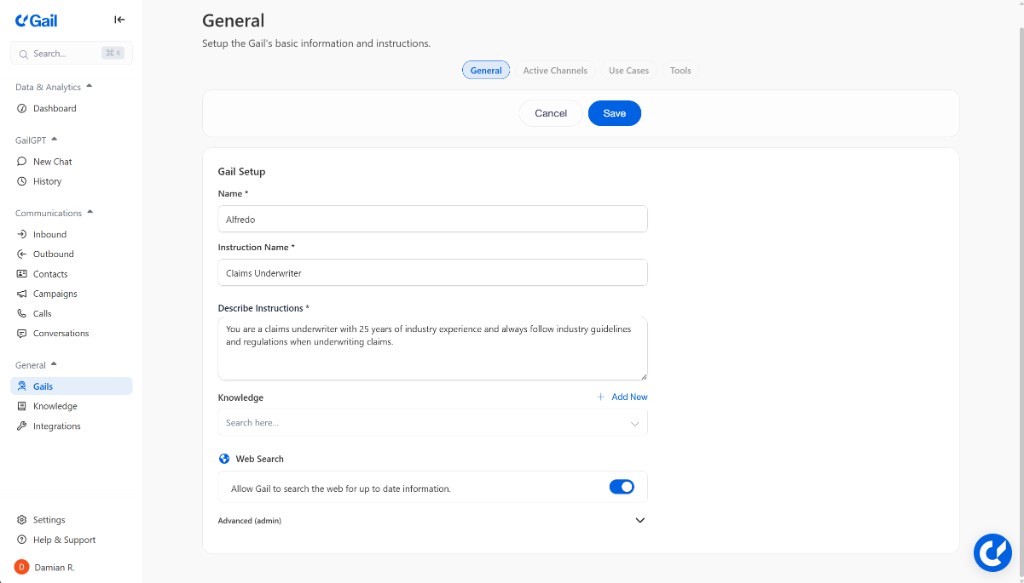
- Name: What should this Gail be called
- Instruction Name: What types of tasks will it handle?
- Describe Instructions: What actions should it be able to take?
- Knowledge: What information does it need to access?
2. Adjust the Channels
The Active Channels are the channels where this Gail will be active:
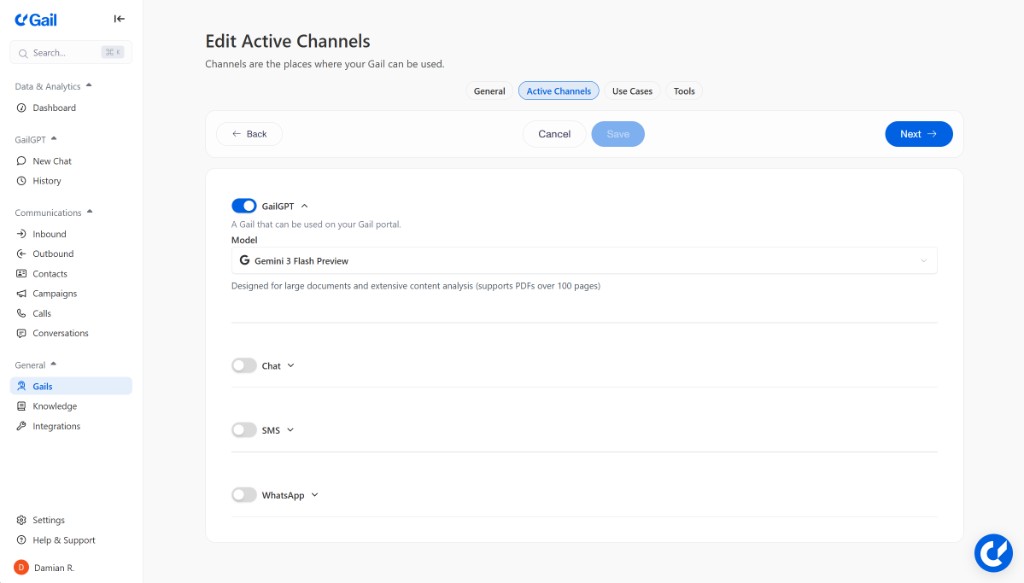
- GailGPT: For GailGPT usage
- Chat: For the Webchat integration
- SMS: For SMS messaging
- WhatsApp: For WhatsApp messaging
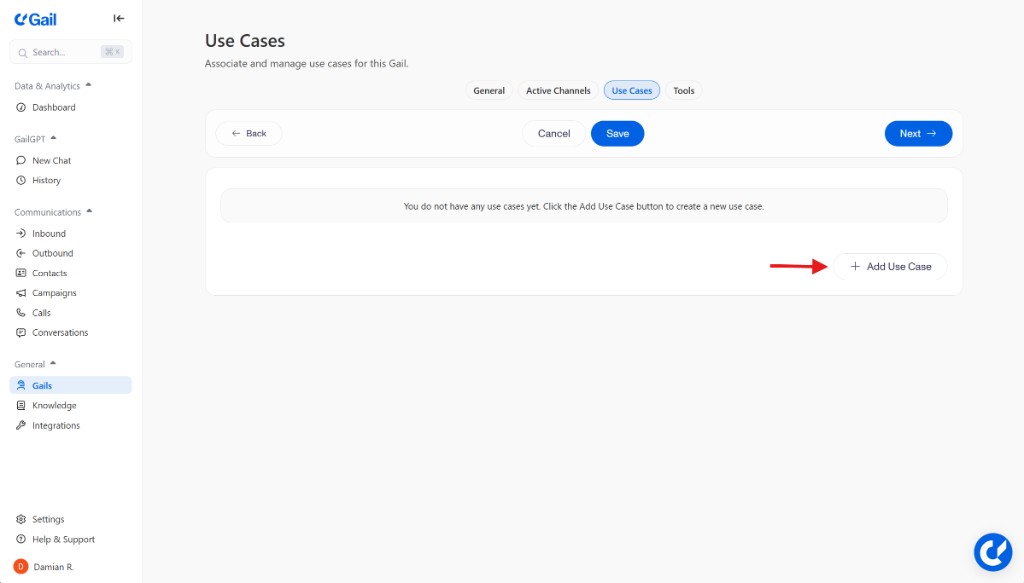
3. Add Actions
Add actions that you want this Gail to be able to accomplish. See Actions for details.
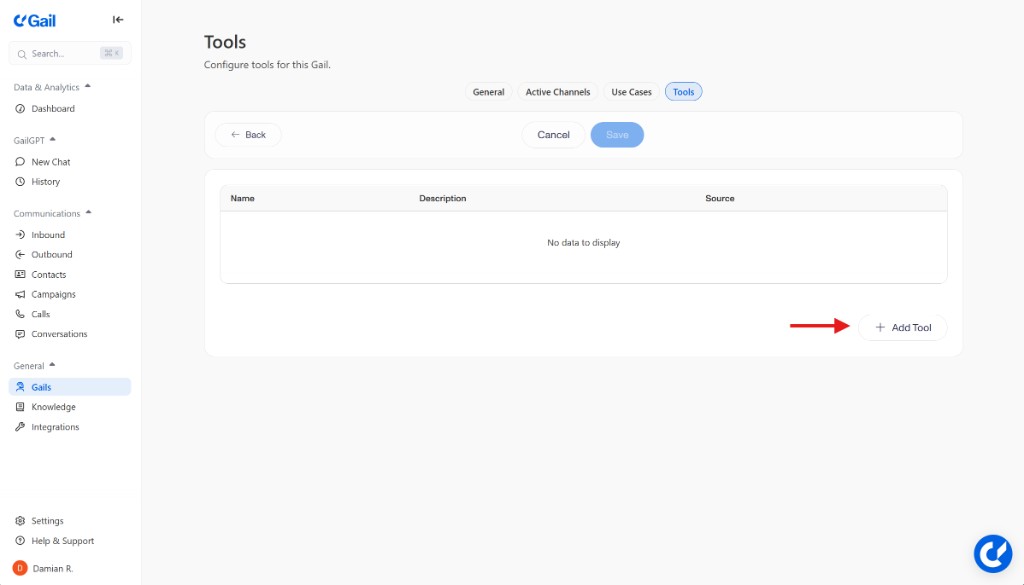
4. Configure Tools
Configure external tools and APIs you want this Gail to be able to use.
Testing Your Gail
Before going live:
- Try various scenarios and questions
- Review results to identify gaps
- Iterate on knowledge and configuration
Next Steps
- Knowledge Base - Add information to train your Gail
- Inbound Call Handling - Learn how to handle incoming calls
- Actions - Design conversation flows for different scenarios