Creating Campaigns
This guide walks you through creating an outbound campaign from start to finish. The campaign builder uses a guided, step-by-step wizard.
Starting a New Campaign
- Navigate to Outbound in the left sidebar
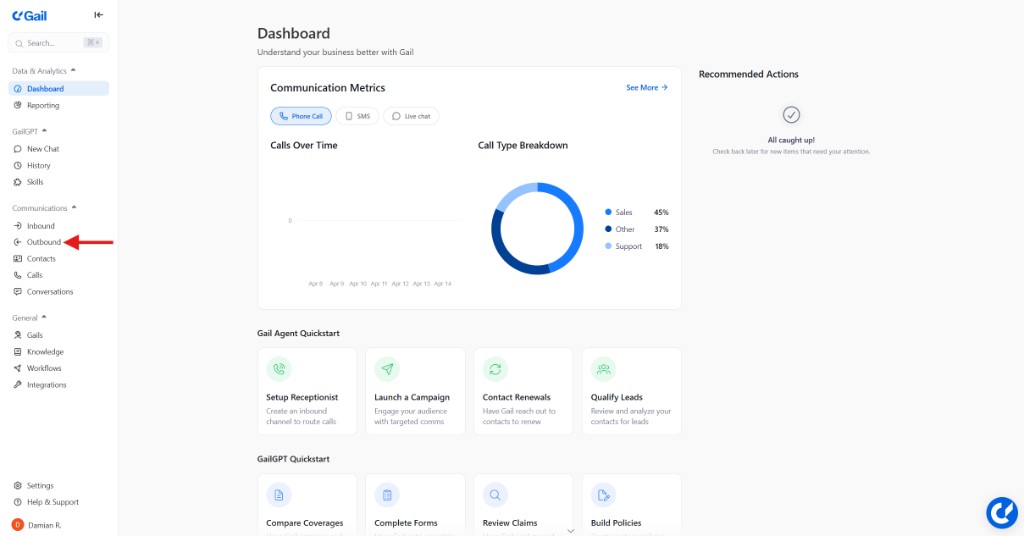
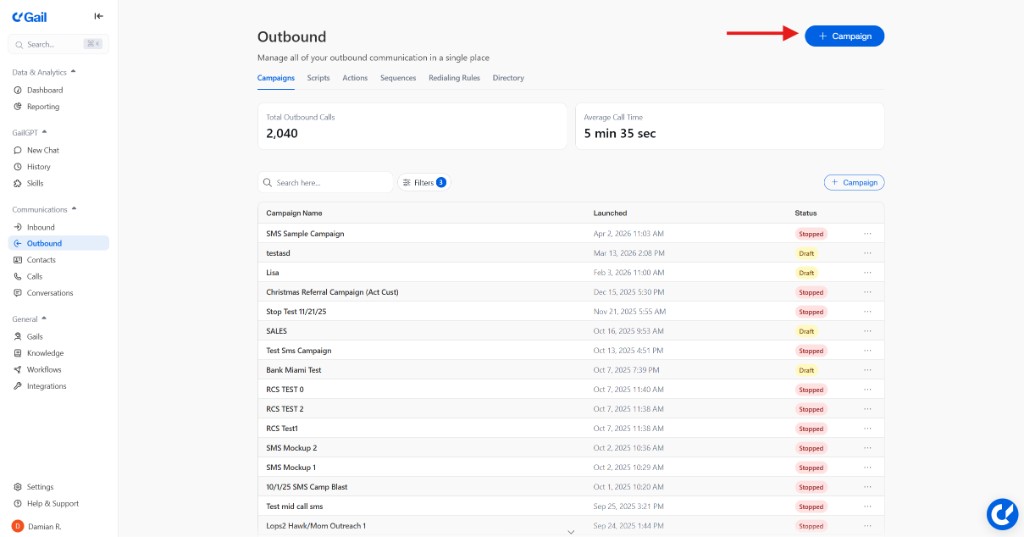
- Click New Campaign
Choose a Campaign Type
The first step asks you to choose how you want to build the campaign:
You can convert a Basic campaign to Advanced later from the Script & Flow step if you need multiple sequences or redialing rules.
Campaign Builder Steps
The wizard guides you through these steps (some are Advanced-only):
Audience (Basic) / Audience & Segments (Advanced)
Select one or more contact lists. In Advanced campaigns, you can also create segments with conditions to refine which contacts receive specific messaging.
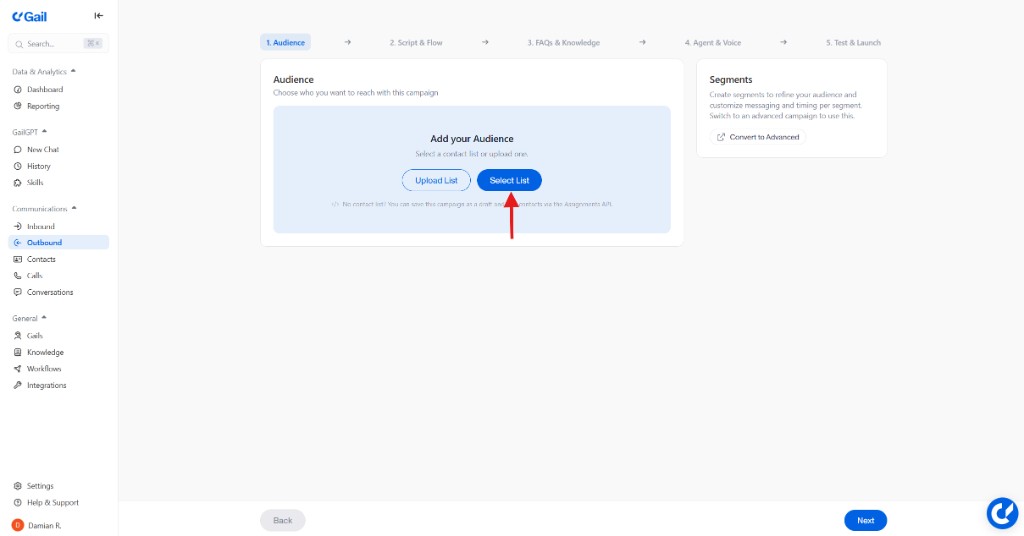
Contact lists are optional when saving — you can save as a draft and add contacts later via the Assignments API. However, you need at least one contact list or assignment to launch.
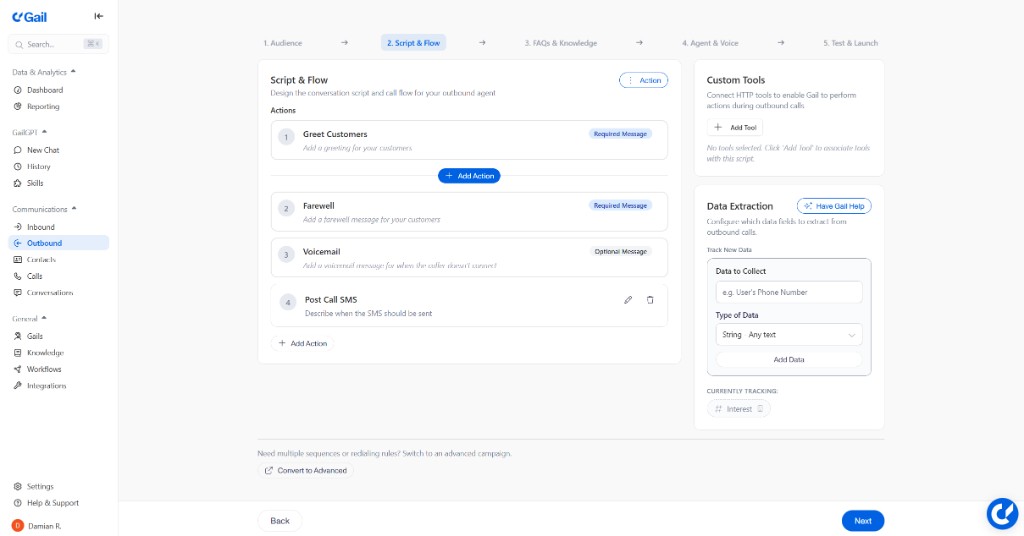
Script & Flow (Basic) / Sequences (Advanced)
Basic: Select an existing script or create one. You can also configure custom tools (HTTP integrations) and data extraction fields from a side panel. Use Have Gail Help to let Gail suggest data extraction fields.
Advanced: Build one or more sequences — each with outreaches that have their own timing and script. You can create sequences from scratch or select existing ones from your organization.
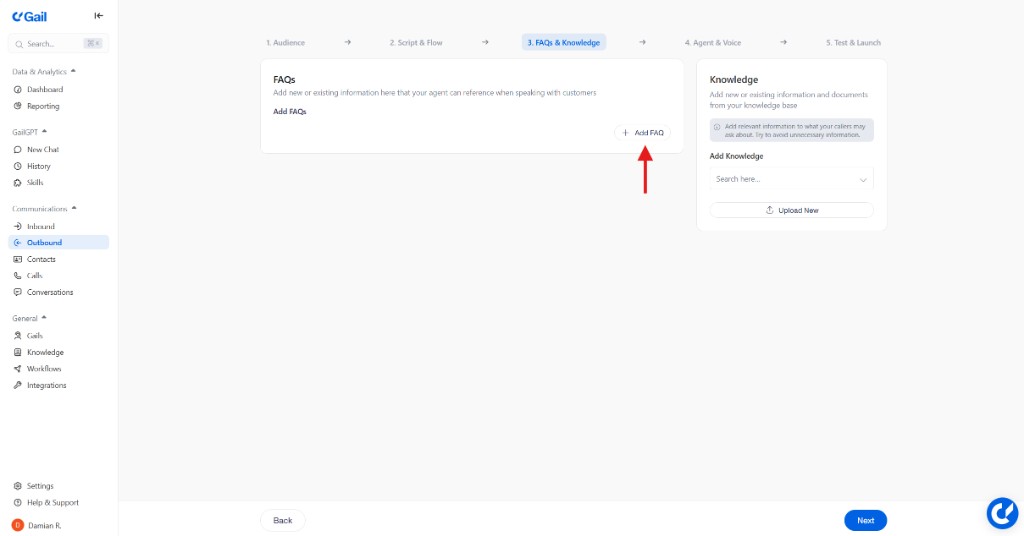
FAQs & Knowledge
Give your agent additional information and context to help answer customer questions during calls.
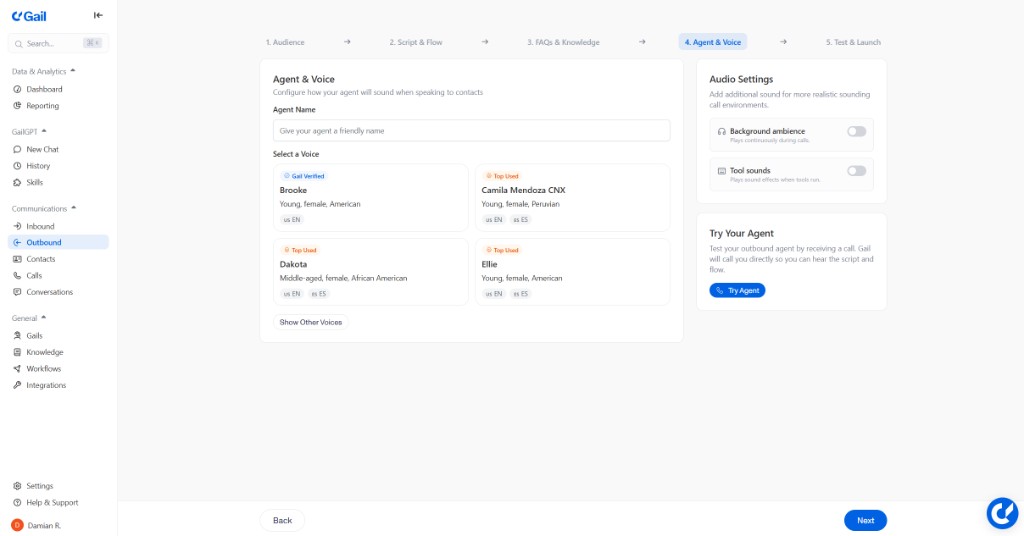
Agent & Voice
Configure how your agent sounds — choose a voice, add optional ambient audio, and use Test Voice to preview. You can also Try Your Agent to receive a live test call.
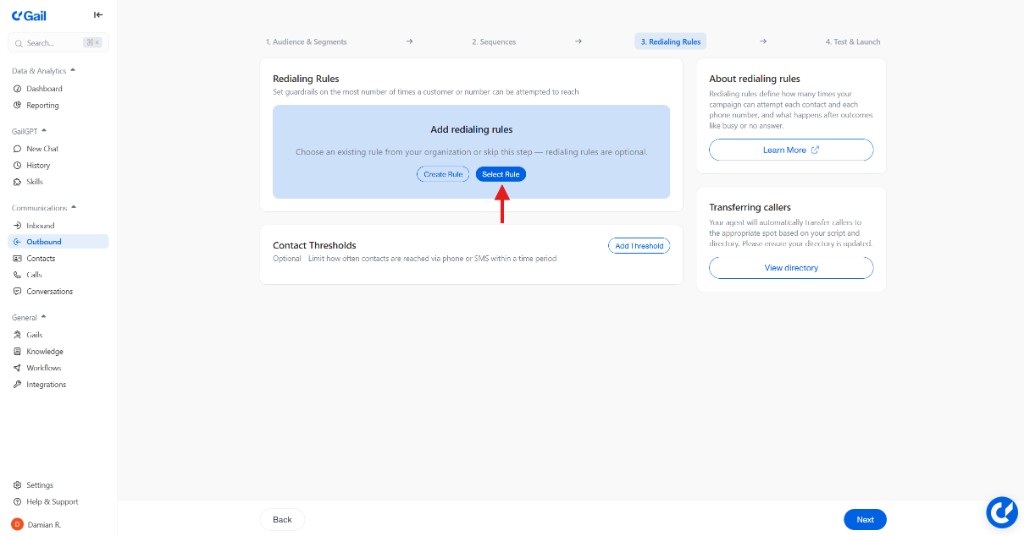
Redialing Rules (Advanced)
Optionally select an existing redialing rule or create one to control how outcomes like no answer, busy, and voicemail trigger retries. See Redialing Rules for details.
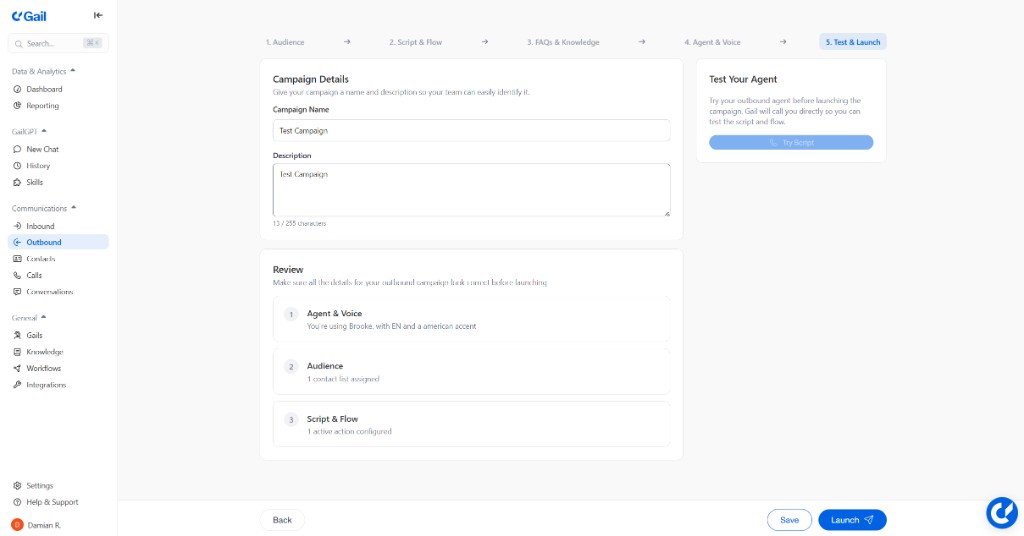
Launching the Campaign
Before launching, the Test & Launch step shows a summary of your configuration. Address any issues first.
When you click Launch:
- Basic campaigns start calls immediately after confirmation.
- Advanced campaigns follow your configured schedule and sequence timing.
You cannot launch a campaign without at least one contact list or API assignment. The platform will block the launch and prompt you to add an audience.
Monitoring Active Campaigns
Once running, monitor your campaign by selecting it from the Campaigns tab:
- Real-time stats - Calls made, connected, completed
- Live calls - Currently active conversations
Stopping a Campaign
You can stop a campaign at any time:
- Open the Campaigns tab in Outbound
- Click the 3 dots next to the campaign you would like to stop
- Click Stop
- Calls in progress will complete, but no new calls start
To resume, click Start.
Next Steps
- Sequences - Create multi-step outreach flows for Advanced campaigns
- Redialing Rules - Configure retry behavior
- Managing Contacts - Organize your contact lists
- SMS & Text Messaging - Set up text messages for text-based campaigns