Managing Contacts
Contact lists are the foundation of outbound campaigns. This guide covers how to create, organize, and manage your contacts for effective outreach.
Contact lists are optional when saving a campaign — you can save a campaign as a draft and add contacts later via the Assignments API. However, you need at least one contact list or API assignment before you can launch a campaign.
Creating Contact Lists
To create a new contact list:
- Navigate to Contacts in the left sidebar
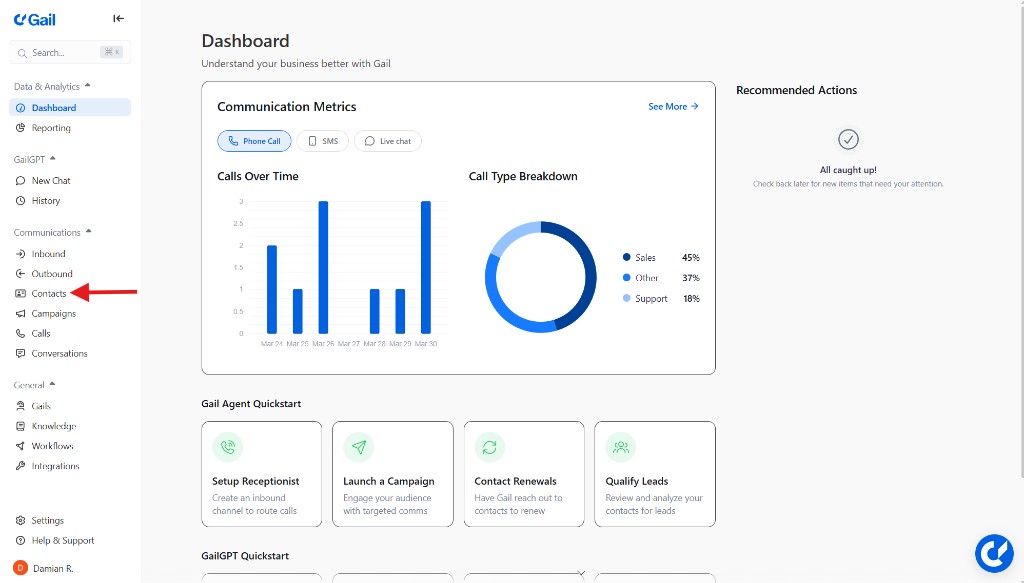
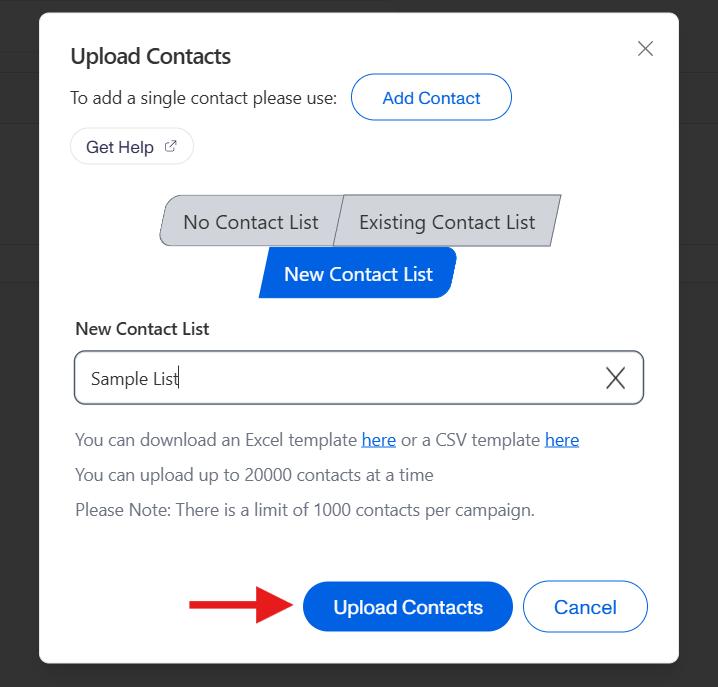
- Click Upload Contacts

- Select whether you want them to be added to No List, an Existing List, or a New List

- Enter a name for a New List
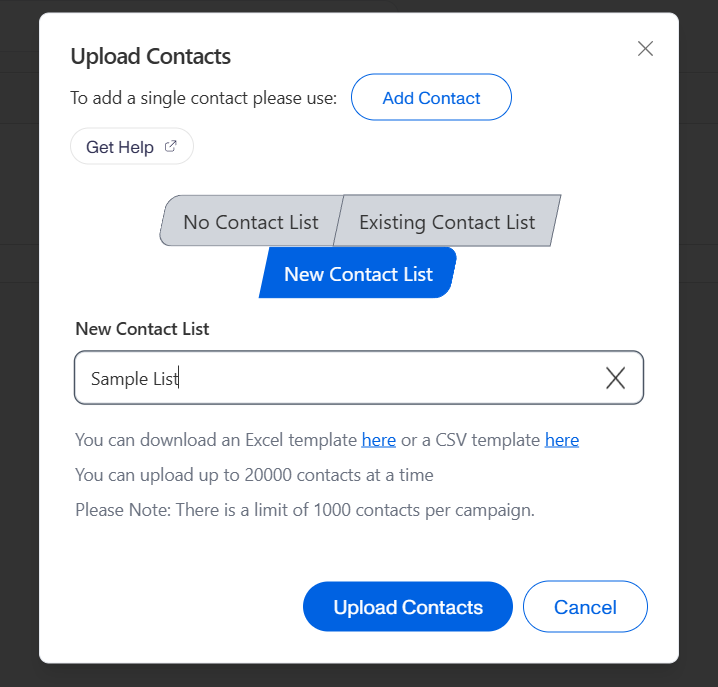
- Upload your contacts
List Organization
Organize contacts into logical groups based on:
- Campaign type (reminders, follow-ups, marketing)
- Customer segment (new customers, renewals, etc.)
- Geographic region
- Product or service line
Adding Contacts
Manual Entry
For small lists or individual contacts:
- Open your contact list
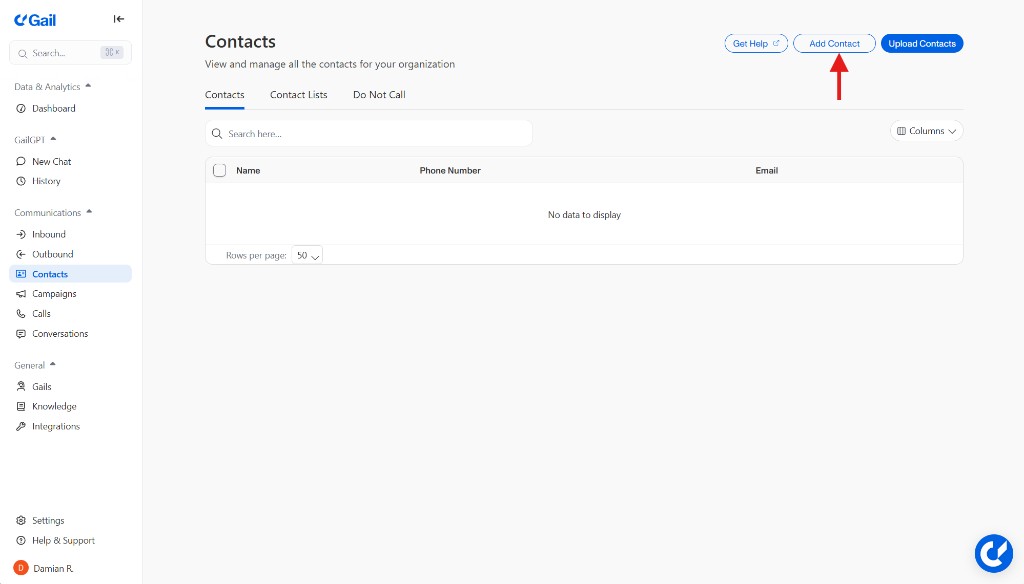
- Click Add Contact
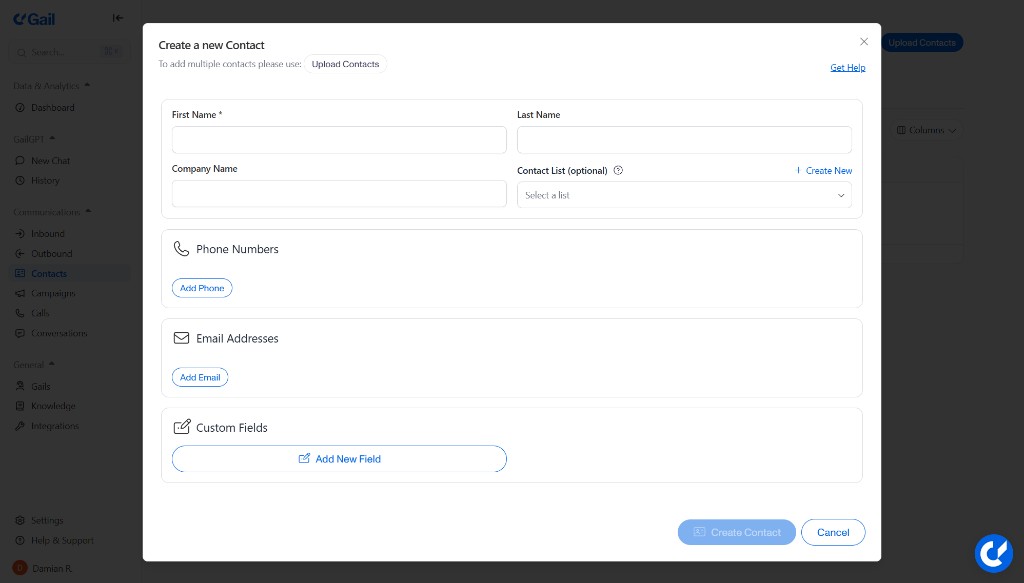
- Fill in the contact details:

- Name - Full name of the contact
- Phone Number - Primary phone number (required)
- Email - Email address (optional)
- Custom Fields - Any additional data you need
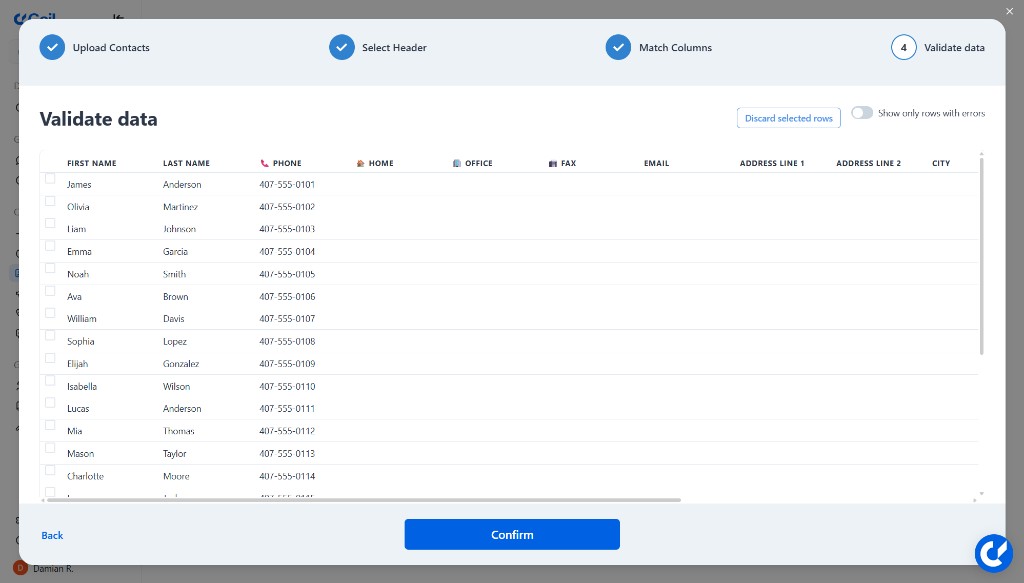
Bulk Upload
For larger lists, upload a CSV or Excel file:
- Click Upload Contacts

- Select your file (CSV, XLSX, or XLS)
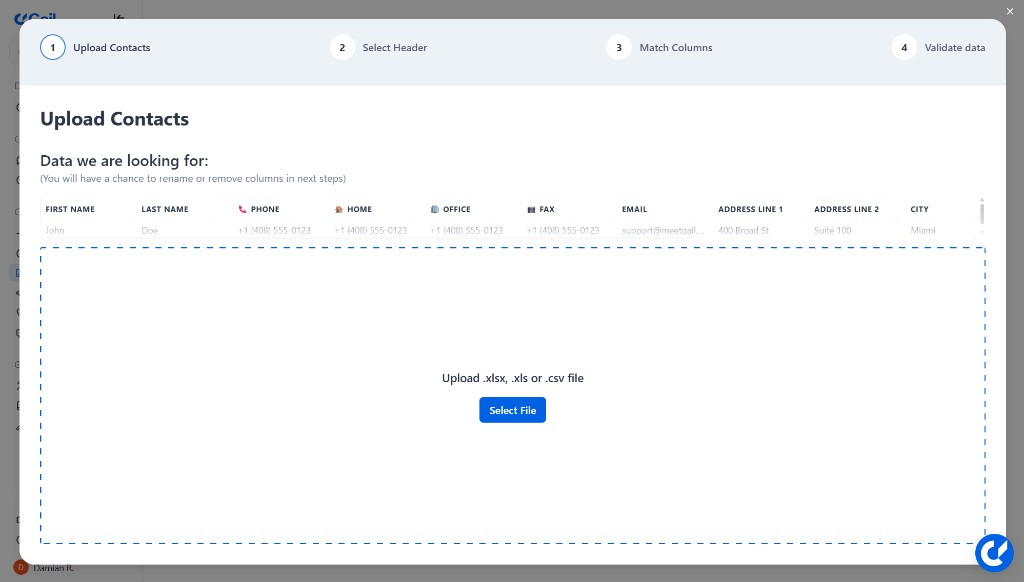
- Map columns to contact fields
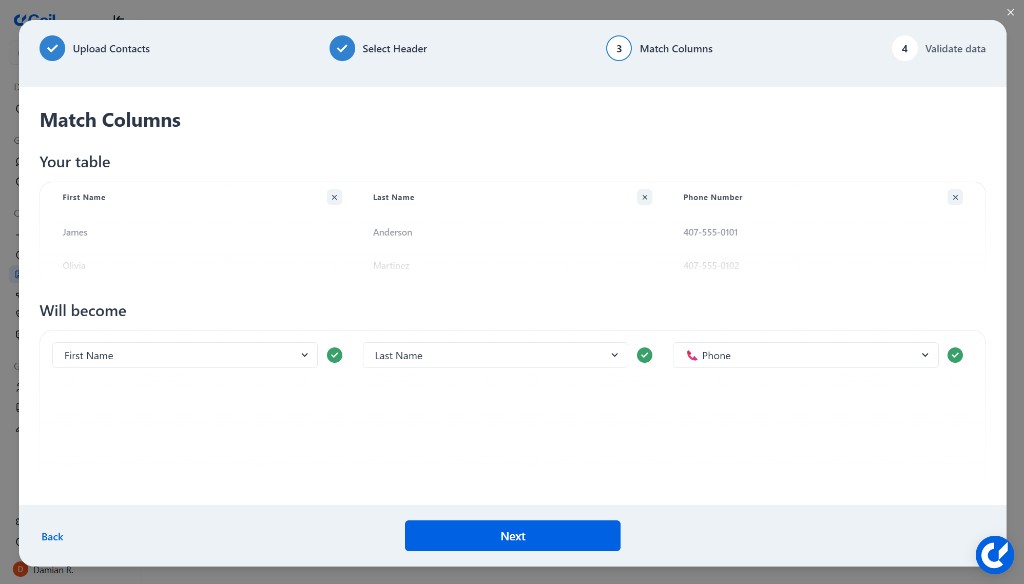
- Review and confirm the import
CSV Format Example:
Phone numbers should include the country code (e.g., +1 for US). Gail will attempt to normalize numbers without country codes.
CRM Integration
Sync contacts automatically from your CRM:
- Salesforce - Import leads, contacts, and accounts
- HubSpot - Sync contact lists and segments
- Custom Integration - Use the API to push contacts
See Integrations for setup instructions.
Contact Fields
Standard Fields
Custom Fields
Add custom fields to store campaign-specific data:
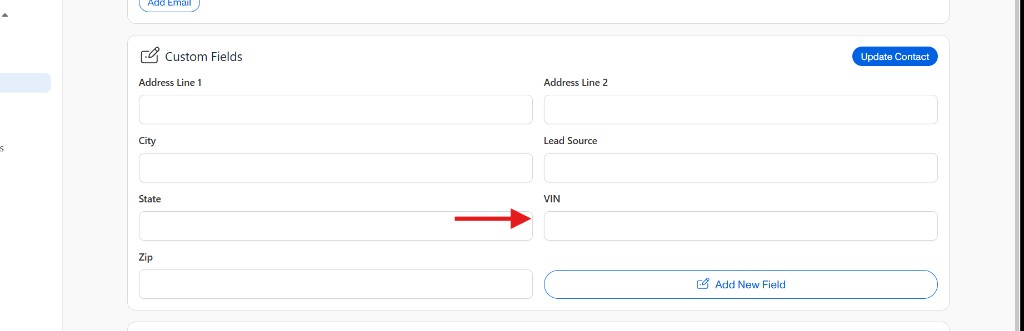
- Go to Contacts → Select a Contact → Custom Fields
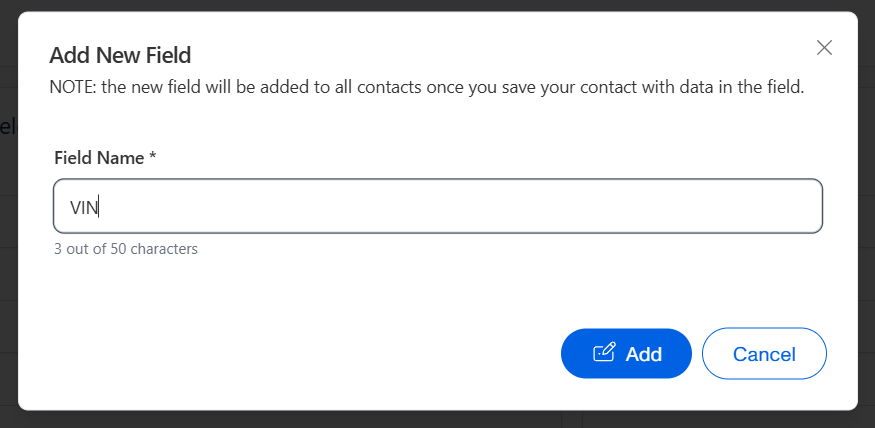
- Click Add New Field
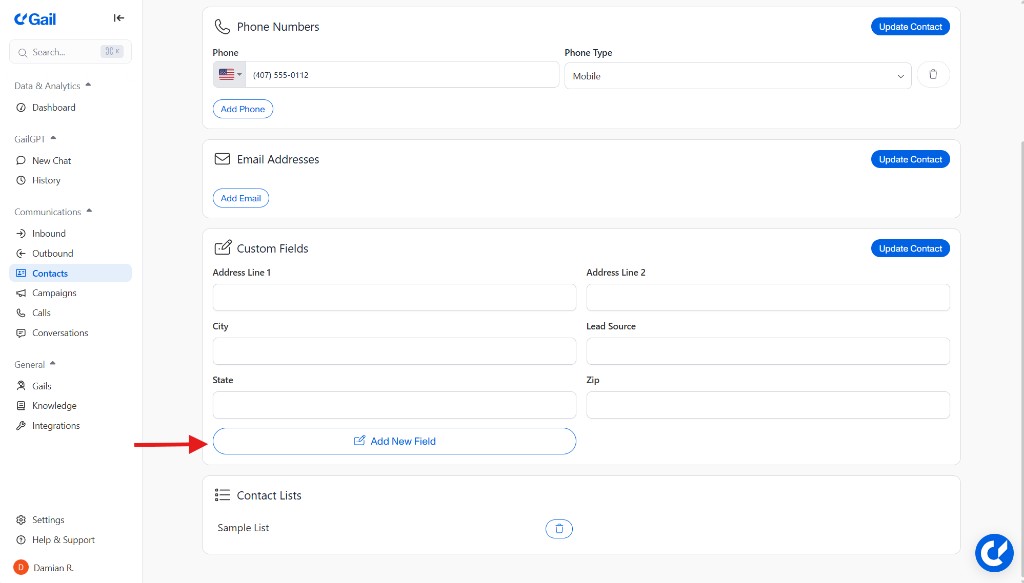
- Name the field:
- Text
- Number
- Date
- Dropdown
- Checkbox
- Fill out the field
Custom fields can be referenced in your agent scripts to personalize conversations.
Contact List Sync
When you link a contact list to a campaign, new contacts automatically sync:
- Real-time sync - Contacts added to the list are immediately queued for the campaign
- Deduplication - Duplicate phone numbers are automatically detected
- Status tracking - Each contact’s campaign status is tracked independently
Managing Contact Status
Each contact has a status within a campaign:
Bulk Actions
Perform actions on multiple contacts:
- Add to list - Transfer contacts between lists
- Add to campaign - Add selected contacts to a campaign
- Delete Selected - Delete selected contacts
Do Not Call (DNC) Management
Maintain compliance with DNC regulations:
- Automatic tracking - When a contact opts out, they’re automatically added to your DNC list
- DNC import - Upload existing DNC lists to prevent calls
- Cross-campaign - DNC status applies across all campaigns
Always honor DNC requests. Calling contacts who have opted out may violate regulations and damage your reputation.
Best Practices
Keep Data Clean
- Validate phone numbers before import
- Remove duplicates regularly
- Update contact information when it changes
Respect Privacy
- Only collect data you need
- Store data securely
- Honor deletion requests
Next Steps
- Creating Campaigns - Set up campaigns for your contact lists
- Sequences - Define outreach flows