
Build Your First Workflow
In this tutorial you will build a small but genuinely useful workflow: when a new lead arrives, it texts them a friendly welcome and saves them to your contacts. It uses four steps, Start, Send SMS, Add Contact, and End, and takes just a few minutes.
By the end you will know how to add steps, configure them, connect them in order, and save your work. If you have not yet, skim How Workflows Run first so the canvas feels familiar.
What you will build
A lead named Sarah Chen reaches out to Chen Insurance Group. Your workflow will:
- Begin when a new lead comes in, capturing their name and phone number.
- Text them a warm welcome so they hear from you right away.
- Add them to your contacts so an agent can follow up.
- Finish.
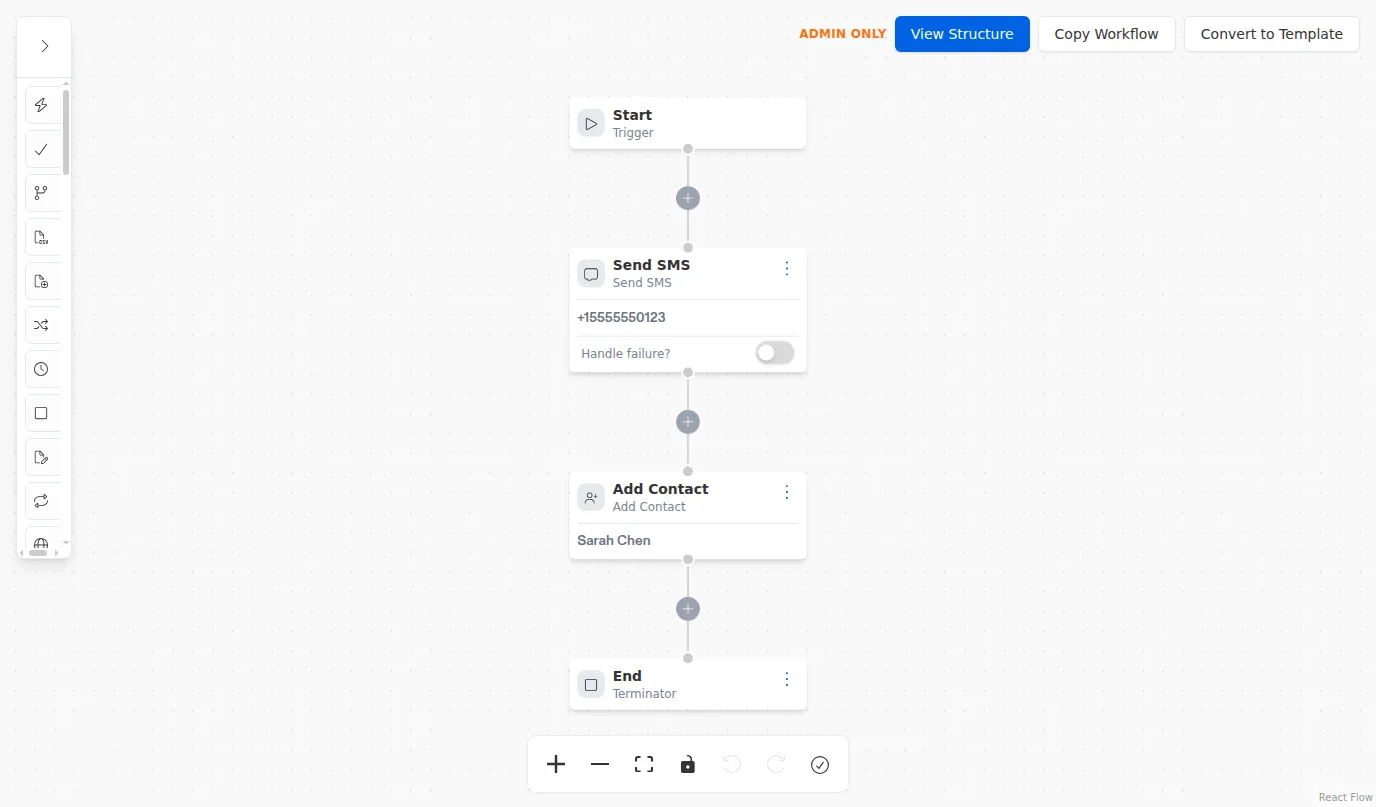
Build it step by step
Create a new workflow
Open the builder and create a new workflow. Give it a clear name like
Lead Welcome and a short description so your team knows what it does. You will
start with an empty canvas and a single Start step ready to go.
Add the Send SMS step
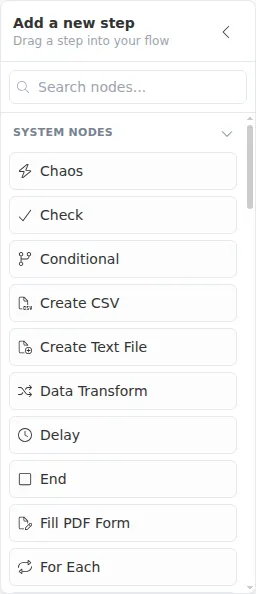
Steps are added from the step picker. Open it, find Send SMS, and add it to the canvas below the Start step.
Configure the welcome text
Select the Send SMS step to open its settings. Fill in two fields:
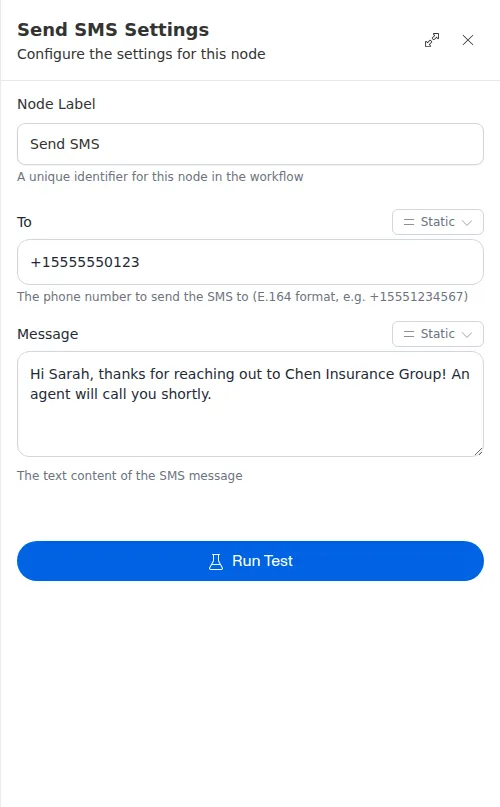
To reuse the lead’s real details instead of typing a fixed value, point a field at a value from an earlier step. The builder offers a picker so you can choose it from a list. See Variables & Data Flow.
Configure the contact details
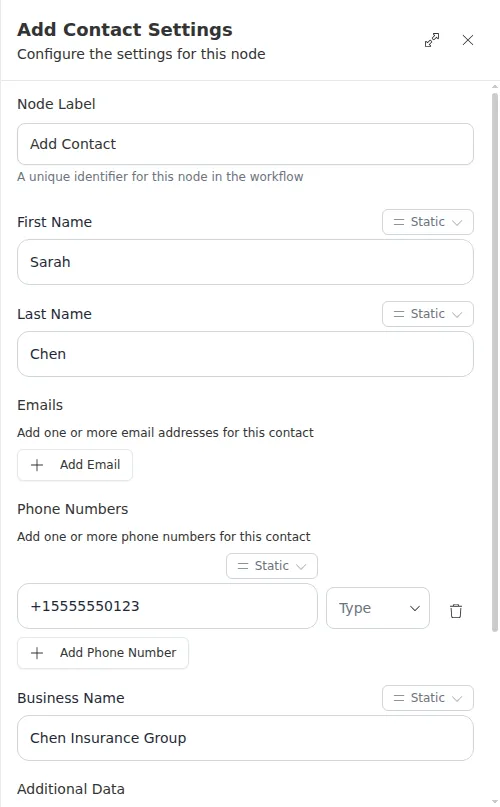
Select the Add Contact step to open its settings, then fill in the lead’s details:
As with the message, you can point these fields at values the Start step captured so each run saves the correct lead.
Try it out
Before you rely on a workflow, it is worth watching it run once. You can step through a run and see exactly what each step did, which makes it easy to spot a field you still need to fill in. See Testing & Debugging.
A run does real work. When your workflow runs, the Send SMS step sends a real text message and the Add Contact step really saves a contact. Use your own phone number and test details while you are trying things out.
Where to go next
You just built a working workflow. From here you can make it smarter: add a step that makes a decision, enroll the new contact in a campaign, or connect another tool your agency uses.